8 Steps to Creating a Profitable Online Course
Oct 16, 2024
Have you been dreaming of creating your own successful online course, program or membership so that you can share your knowledge with more people and help change their life for the better?
You may have seen other entrepreneurs succeed in this space and wondered “how can I do the same?”
Well, I am here to tell you that creating a successful and profitable online course involves more than just recording videos. It requires a bit of strategy to make sure your course meets the needs and wants of your ideal student.
In this blog post we’ll cover the essential steps to turn your course idea into a reality, from validating your concept to launching and refining your course. By the end, you’ll have a clear plan to build and launch a successful online course.
Let’s dive into a behind-the-scenes look at what goes into creating and launching a profitable online course.
Step 1: Do Market Research
Before you dive into creating your online course, it's really important to validate your idea through market research. This will help ensure that your course will meet the needs and wants of your target audience.
Start by identifying your ideal student. Who are they? What are their pain points, goals, and desires? You can do this by sending a survey to your target audience, and looking at the most common questions you get asked about the topic.
Next, analyse existing courses in your niche. See what they cover, and what students are saying in the reviews. This will help you identify any gaps or areas where you can offer something unique or make the experience better.
Don’t forget that you're creating your course for your target audience, not for yourself, so understanding what your target audience actually wants and needs is really important if you want to create a successful, profitable online course.
Step 2: Create a Freebie
Creating a freebie is a great way to attract potential students and validate your course idea before fully committing to it.
Your freebie should relate to your course topic and give your audience real value by addressing a specific problem or need. Your freebie can be whatever you want it to be - a PDF guide, mini-course, eBook, checklist or workbook etc.
Once your freebie is ready, promote it on social media, your website, and email marketing. Pay attention to how many people sign up and what messaging works best to attract people to sign up.
Hot tip: Create an email sequence with multiple emails that is automatically sent over a number of days to nurture your leads. This is a great place to ask for feedback on the freebie or send a link to a survey for your market research.
Step 3: Plan Your Course Outline and Content
With your market research and freebie in hand, it’s time to map out your course content. A well thought out outline is crucial for creating a structured, engaging learning experience that gets your students results.
Here’s a rundown of how to create a course outline:
- Define the core objectives of your course. What should students be able to achieve by the end? Outline these goals clearly, as they will guide your content development and help ensure that your course delivers on its promises.
- Break down your course into overarching topics (aka modules). Create a detailed outline for each module, including key points, lessons, and any other elements like quizzes, workbooks or PDFs. Your modules and lessons should be in an order that makes sense and will be easy for your students to follow.
- Note down what format you want each lesson to be in. For example; video, text, audio, slides. There is no right or wrong here, just think about your ideal student and what format will help them learn best.
You may feel the need to include all the things to your course but this can overwhelm students so try to only include the absolute necessary steps to achieving the result your course promises.
Step 4: Create Your Course Content
It's time to bring your content to life and create the actual materials for each lesson in your course.
If you’re creating video or audio lessons, you can create scripts to help you stay on track. You don’t need high quality equipment to record your lessons. As long as the audio and video is clear and easy to follow, that’s all that matters.
This is also the time you will want to create any downloadable resources like workbooks, PDFs and templates etc.
If you want to add some interactive components, quizzes, assessments, challenges, and gamifying your course can be a great way to do this. These elements not only help reinforce the material but also provide valuable feedback on how well students are grasping the content.
Step 5: Choose an Online Course Platform
This is one of the steps where a lot of course creators get stuck and overwhelmed. There are so many platforms to choose from and it can be hard to know what is going to work best for you.
It’s important to note the difference between an all-in-one platform and an online teaching platform. An all-in-one platform usually allows you to host your course, use email marketing, host your website, create landing pages and funnels and more. Whereas an online teaching platform only allows you to host your online course/ membership, plus it may have some other features.
The most important things to consider and keep in mind when choosing an online course platform are:
- Are you tech savvy? (if not you may want to go with an all-in-one platform to avoid having to integrate multiple different platforms).
- What is your budget?
- What systems and platforms are you already using, how much do they cost you and are you willing to move those systems/ platforms into an all-in-one platform?
- Is the course side of your business something that you are going to focus on and want to grow?
- Are there any features that are non-negotiable for you?
Next, decide if you want to use an all-in-one platform or an online teaching platform and narrow your options from there. Some popular course platforms are:
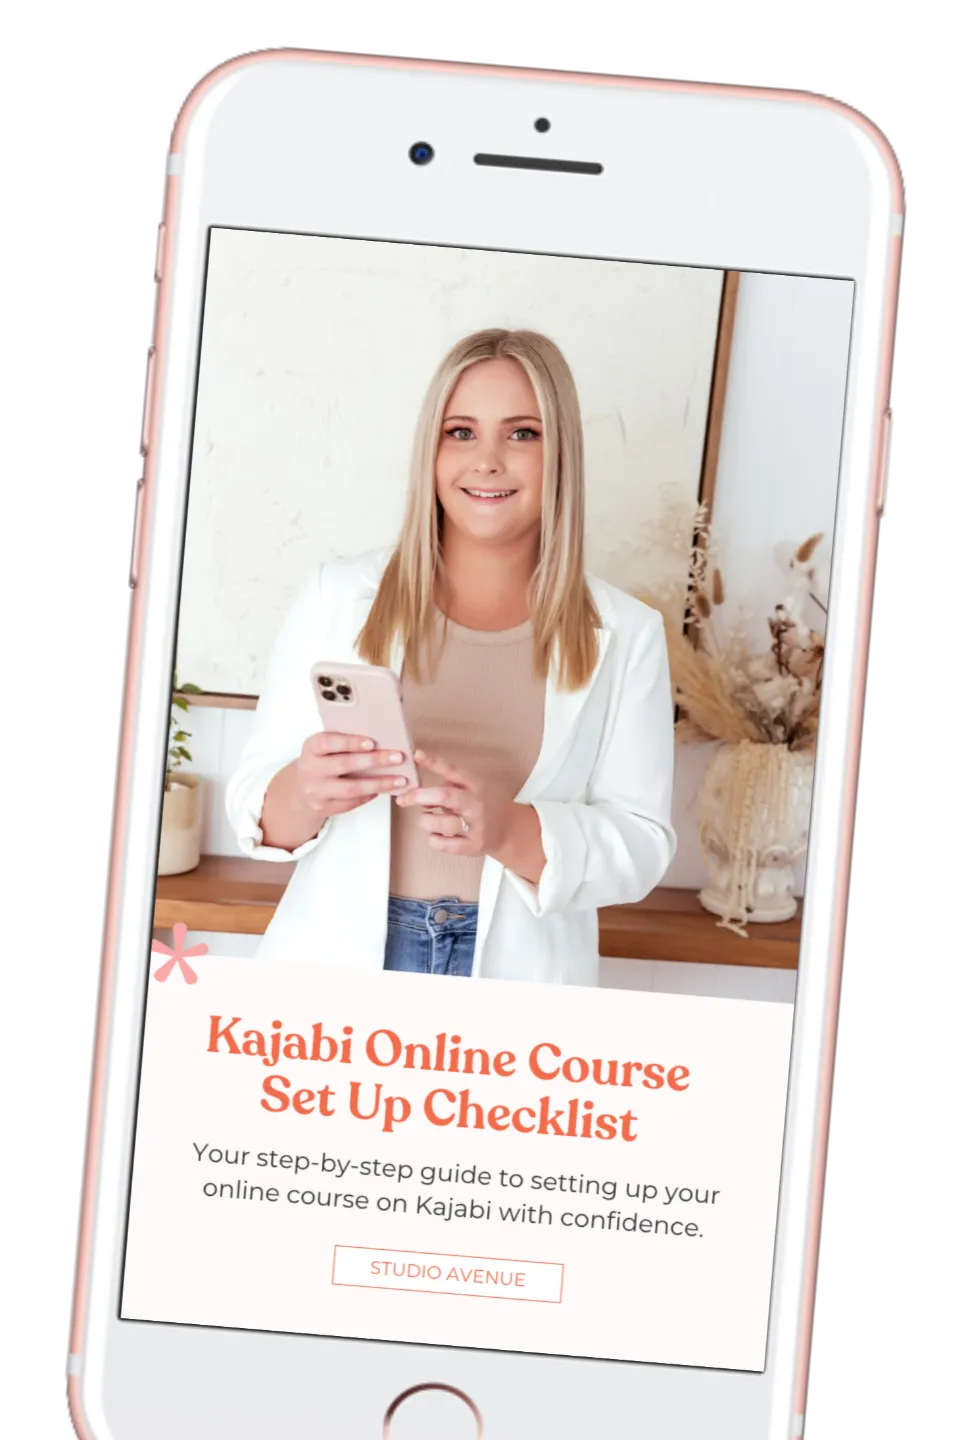
- Kajabi (all-in-one platform) - - this is the platform I use and love myself. Get your free 30 day trial here.
- Kartra (all-in-one platform)
- Thinkific (online teaching platform)
- Teachable (online teaching platform)
Once you have decided if you want to use an all-in-one platform or an online teaching platform, I recommend you pick 2 platforms that stand out to you, sign up to a free trial for each and test them out to see which you like best.
Keep in mind that while it isn’t ideal to change your course platform further down the track, it is possible to do so, so don’t feel like you will be stuck with whichever platform you choose now.
Step 6: Develop a Marketing and Launch Strategy
This is the part not many people enjoy and don’t want to spend time on, but the truth is that if you want people to purchase your course, you need to have a strong marketing and launch strategy in place.
Marketing
Ideally you want to start your marketing at least 6 weeks before you plan to launch your course and open the cart.
You can start by sharing behind the scenes, teasers, talking about the problems and desires your audience have that your course will help them with etc. Post on social media, send emails to your email list and interact with your audience as much as you can.
Plan Your Launch
Choose a launch date and create a timeline working backwards from there. Schedule email campaigns, social media posts, and any paid advertising you plan to use.
Pre-launch Event
Consider hosting a pre-launch event, such as a free webinar or challenge. This gives potential students a taste of your teaching style and allows them to ask questions and helps build excitement for your course. You can even offer a special bonus or discount to anyone who joins your webinar or challenge.
Sales Page
Create a compelling sales page that speaks to where your ideal students are now, where they want to be and how your course can help them get there. Focus more on the outcome of your course than just listing what your course includes.
By being prepared and creating a comprehensive marketing and launch strategy in advance you will save yourself stress during the launch period and you’ll be able to show up better, attract your ideal students and set your course up for success.
Step 7: Launch Your Course
Finally, it’s time to launch your course!
A launch period is usually between 7-10 days, unless your course is evergreen and open for enrollment all the time. Even if your course is evergreen I recommend you really push your course launch on social media and in your email marketing etc. for 7-10 days to make the most of the launch.
Make sure all your emails, social media posts and ads are done and scheduled and make sure your sales page is live and functioning smoothly.
Engage with your audience during the launch period, be on stand-by for any issues that may come up, monitor how your launch is going - what’s working and what’s not, and celebrate as each student enrols.
By executing a well-coordinated launch, you’ll set the stage for a successful course and begin building a strong, engaged community of learners.
Step 8: Evaluate & Improve Your Course
Once your course is live, the work doesn’t stop there. Continuous improvement is key to maintaining a high-quality learning experience and ensuring long-term success for your students and your course.
Collect feedback from your students through surveys, feedback forms, and direct communication. Gather insights on their experience with the course content, structure, and overall delivery and take onboard any suggestions for improvement and any recurring issues they mention.
Make sure you update your course when needed so that it stays relevant and up-to-date.
Engage with your students even after the course has ended. Offer additional resources, follow-up content, or advanced courses to maintain their interest and build a loyal community.
Wrapping It Up
Creating an online course is a rewarding journey that involves careful planning, execution, and ongoing refinement. By following these essential steps you will set yourself up for success.
Remember that building a successful course is not just about delivering information but about creating an impactful learning experience that gets your students results.
Your course has the potential to make a significant difference in the lives of your students and establish you as an authority in your field. Embrace each step of the journey, and watch as your vision becomes a reality.
Ready to start creating your course and need a little more help knowing exactly how to do it all? I learnt all about how to create an online course from Amie - Online Course Academy. You can check it out here for a special discounted price.
Additional Resources
Helpful tools and platforms for online course creation
Disclaimer: some links throughout this blog post are affiliate links and I may earn a small commission when a purchase is made. I am only an affiliate for products that I love and use myself.